What the Remote Open widget is and how to use it.
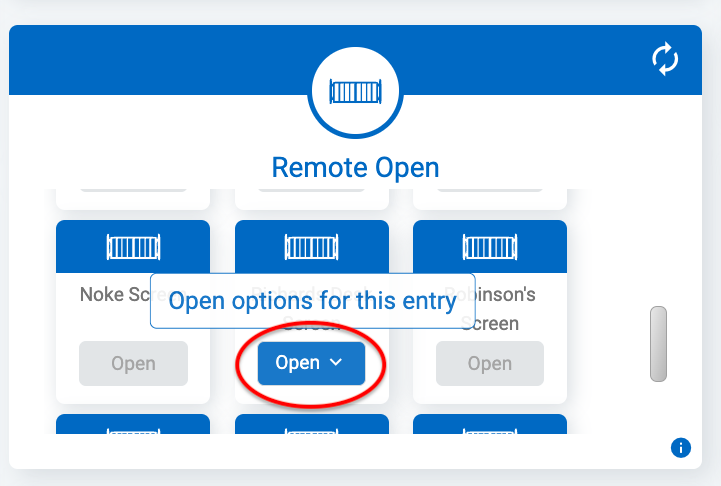
One of the dashboard widgets available to you is 'Remote Open'.
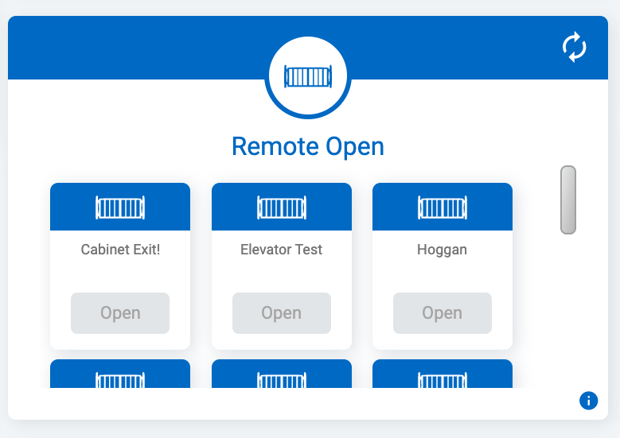
This widget is how you can open entry points for customers or employees.
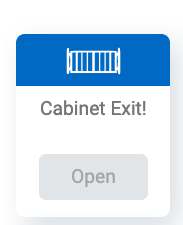
If the option to 'Open' is greyed out, that means that the unit is offline and is therefore unreachable by the Nokē Smart Entry system.
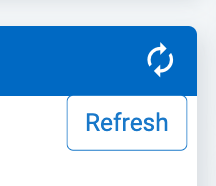
Pressing the icon in the top right corner of the widget will refresh the information for the entry points.
If the entry point is online and reachable by the Nokē Smart Entry system, the 'Open' button will not be grayed out.
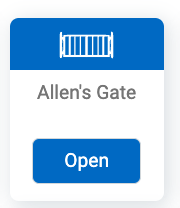
Certain Entry points will just show the 'Open' (no dropdown) based on certain requirements of the device (see below for more information on those requirements). This option will open the entry point for a short time and then close the entry point. This is most often used to let someone in who is at the gate and needs quick access.
Clicking the 'Open' (with dropdown) button will open up a list of options that are available.
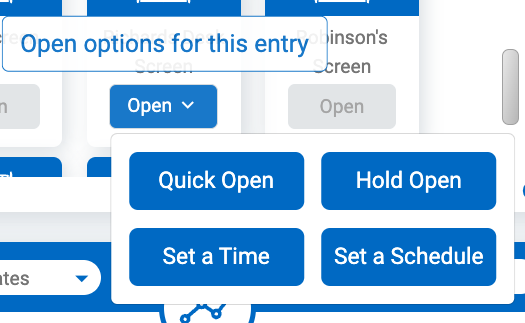
Hold Open Options
Quick Open:
This option will open the entry point for a short time and then close the entry point. This is most often used to let someone in who is at the gate and needs quick access.
Hold Open:
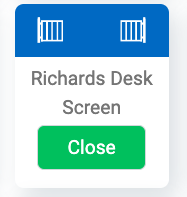
This option will open the entry point and will keep the entry point open indefinitely until a Close option is selected in the same widget.
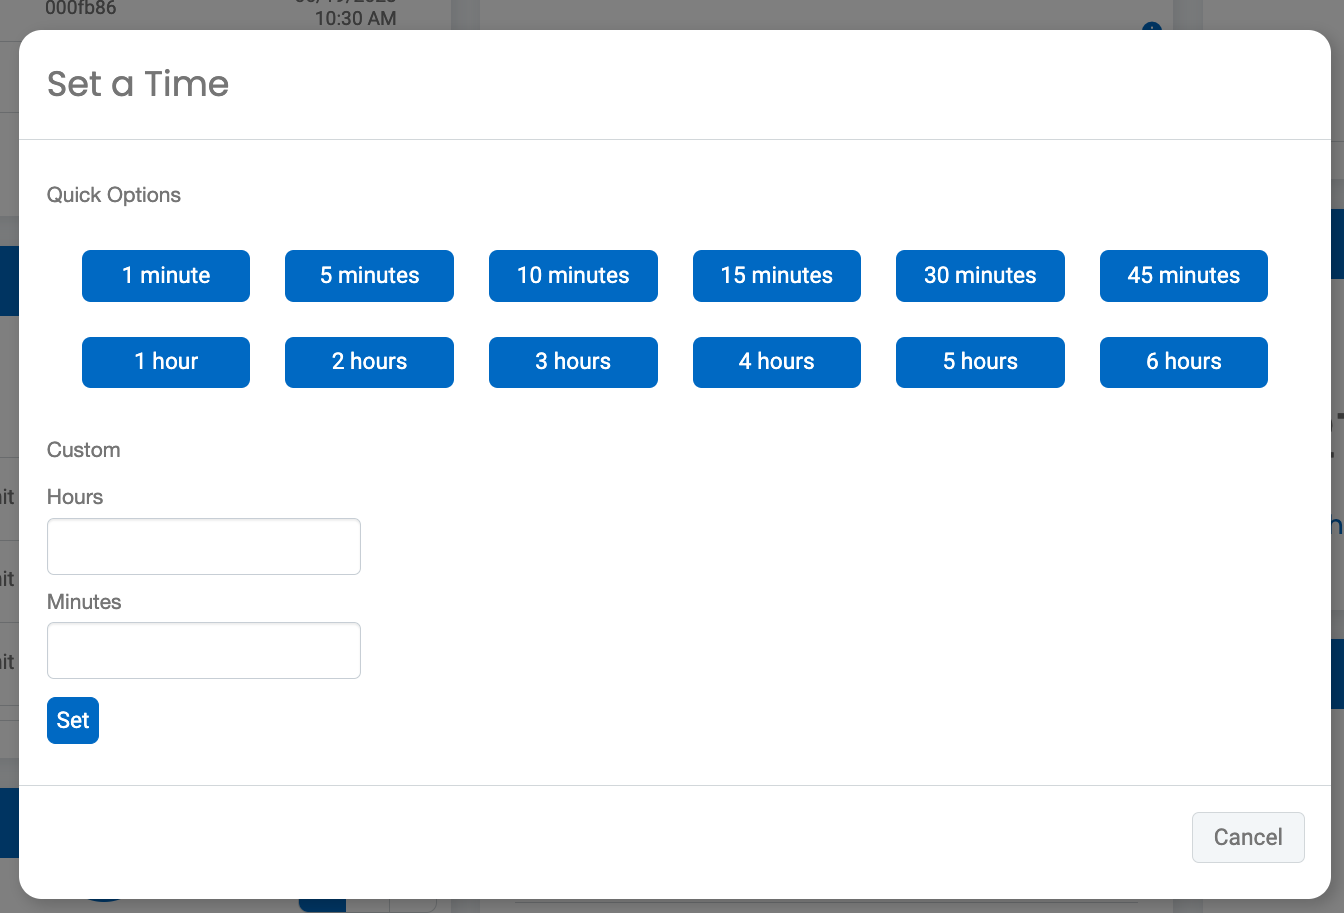
Set a Time:
This option will open the entry point for a specified amount of time.
Set a Schedule
This option allows you to specify a date and time to open and close the entry point, including the ability to create a Repeating Schedule.
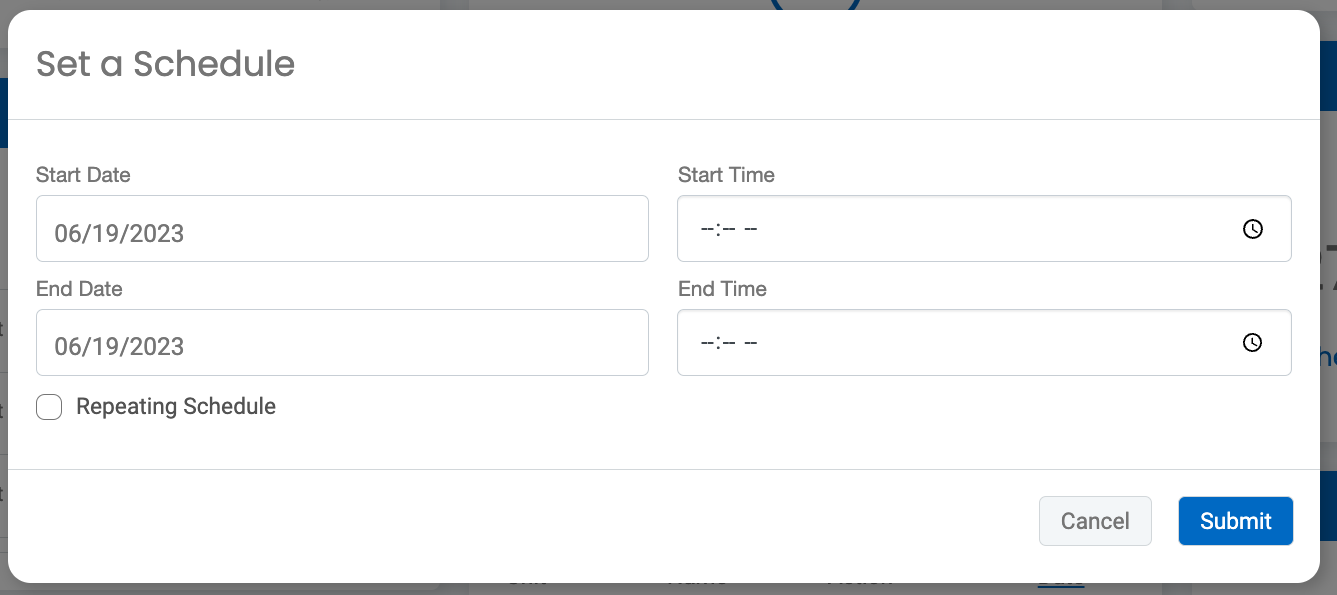
Repeating Schedule
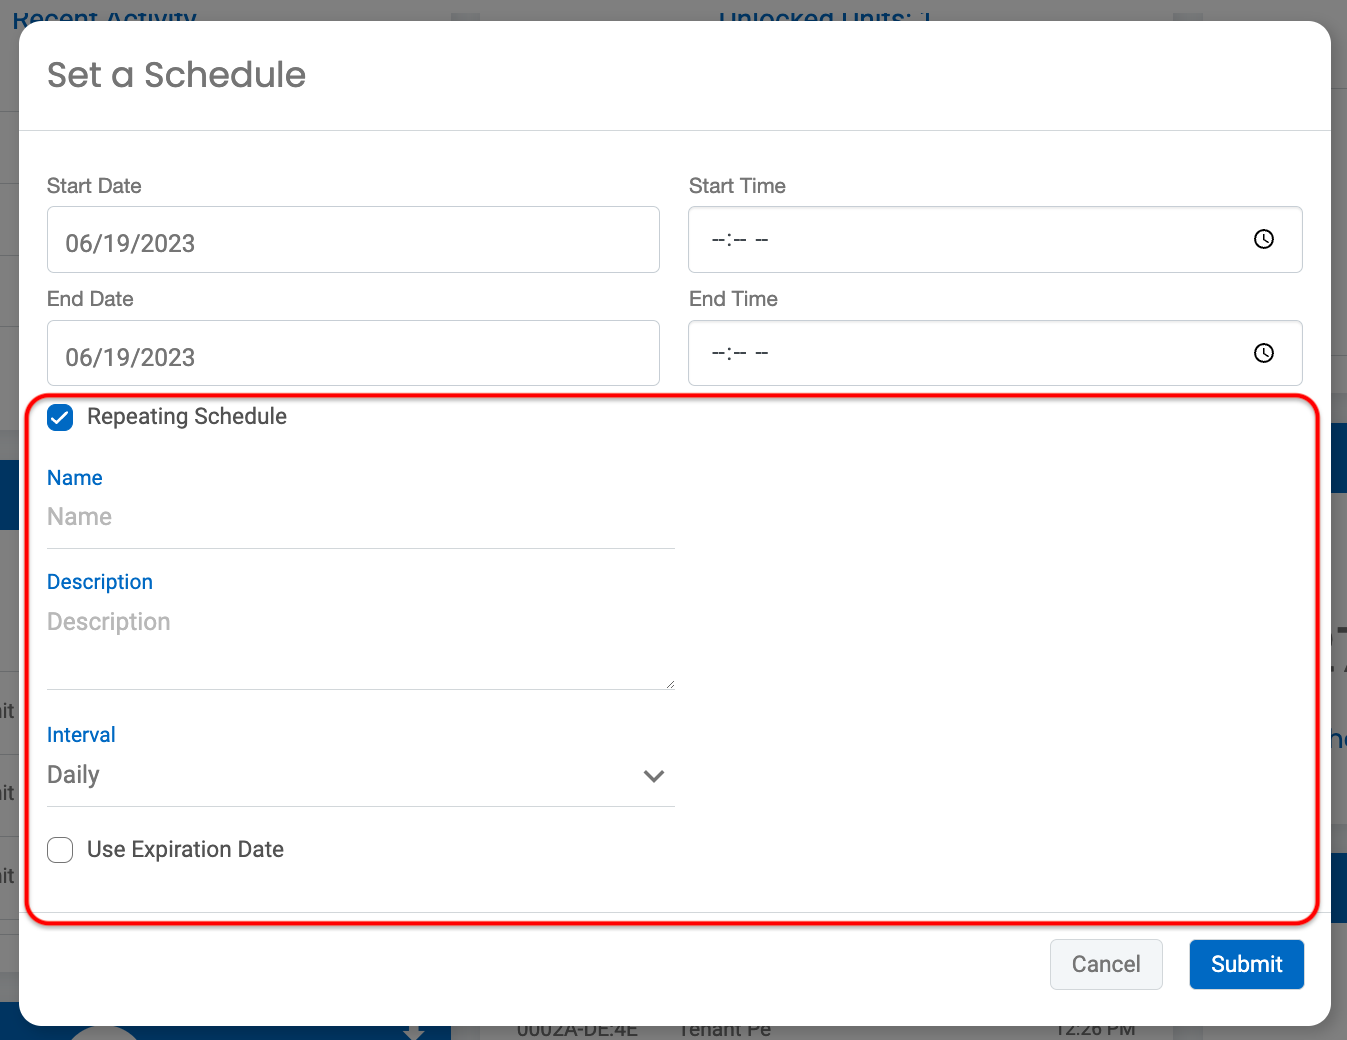
- Daily: The schedule will open and close at the specified times every day.
- Weekly: The schedule will repeat on the same day of the week as your initial Start Date. For example, if you set the Start Date to Friday, June 23, the schedule will repeat every Friday.
- Monthly: The schedule will repeat on the same date of the month as your initial Start Date. For example, if you set it to start on the 11th, it will repeat on the 11th of each month.
Important Note on Start and End Dates
If you choose not to use an expiration date, the 'Start Date' and 'End Date' must be the same. To set up a schedule that continues indefinitely, follow these steps:
- Set the expiration date to be the same as your Start Date.
- Choose the time you want the Hold Open to start. This will be the time when your scheduled hold opens and continues to open at that same time according to your selected interval.
- Check the 'Repeating Schedule' box.
- Fill out the 'Name' and 'Description' fields.
- Select the interval (Daily, Weekly, or Monthly).
- Click 'Submit.'
This setup ensures that the schedule will repeat as intended without a defined expiration, effectively functioning as an ongoing schedule. Here’s an example of correctly set ongoing schedules:


If you want your schedule to end after a specific period, you can easily set an Expiration Date. To do this:
- Select the 'Use Expiration Date' option and specify the desired end date.
- This date can be set for any time after your initial Start Date. Once the expiration date is reached, the schedule will automatically stop repeating, ensuring that access is granted only for the intended duration. This feature is helpful for temporary events or limited-time access, providing you with greater control over your scheduling needs.

To access your currently set Repeating Schedules:
- Go to the 'Entries' tab.
- Click on the 'View All Repeating Schedules' icon located in the top-right corner.
- From this page, you can edit and/or delete any of the Repeating Schedules.

Permission Needed
- Remote Open
Contact an administrator to add this permission to your role type, if needed.
Requirements
There are some requirements necessary to see the Remote Open widget as one of the available options.
- The facility needs to have an entry point set.
- Users need the Remote Open permission assigned to their role type.
Further requirements are as follows:
NokePad (3K) - Firmware Version needs to be at least equal to or greater than BLE 3.2
NokeVolt (3E) - Firmware Version needs to be at least equal to or greater than BLE 4.18 and the voltage has to be wired and above 15000V.
NokeVolt (2E) - Firmware Version needs to be at least equal to or greater than BLE 3.37 and the voltage has to be wired and above 150000V.
If you have questions about your devices and remote open, contact Nokē Smart Entry Support for help.
For more information, click below:
Mastering the Virtual Walk-Thru Checklist
.png?height=120&name=noke_vertical%20(1).png)